Task 3 - Learning Markdown (Part 2)#
In this task, we will continue learning and exploring Markdown.
First, let’s get ready by creating a new file to practice in:
Task 3.1: Creating a new file#
Create a new file called
activity_task3.mdfile and open it in VS Code. You can do this in one line using this command:
code activity_task3.md
If this does not open a blank file in VS Code, I suggest revisiting the install instructions to make sure that you can open VS Code from the Terminal.
Task 3.2: Practice Advanced Markdown Syntax#
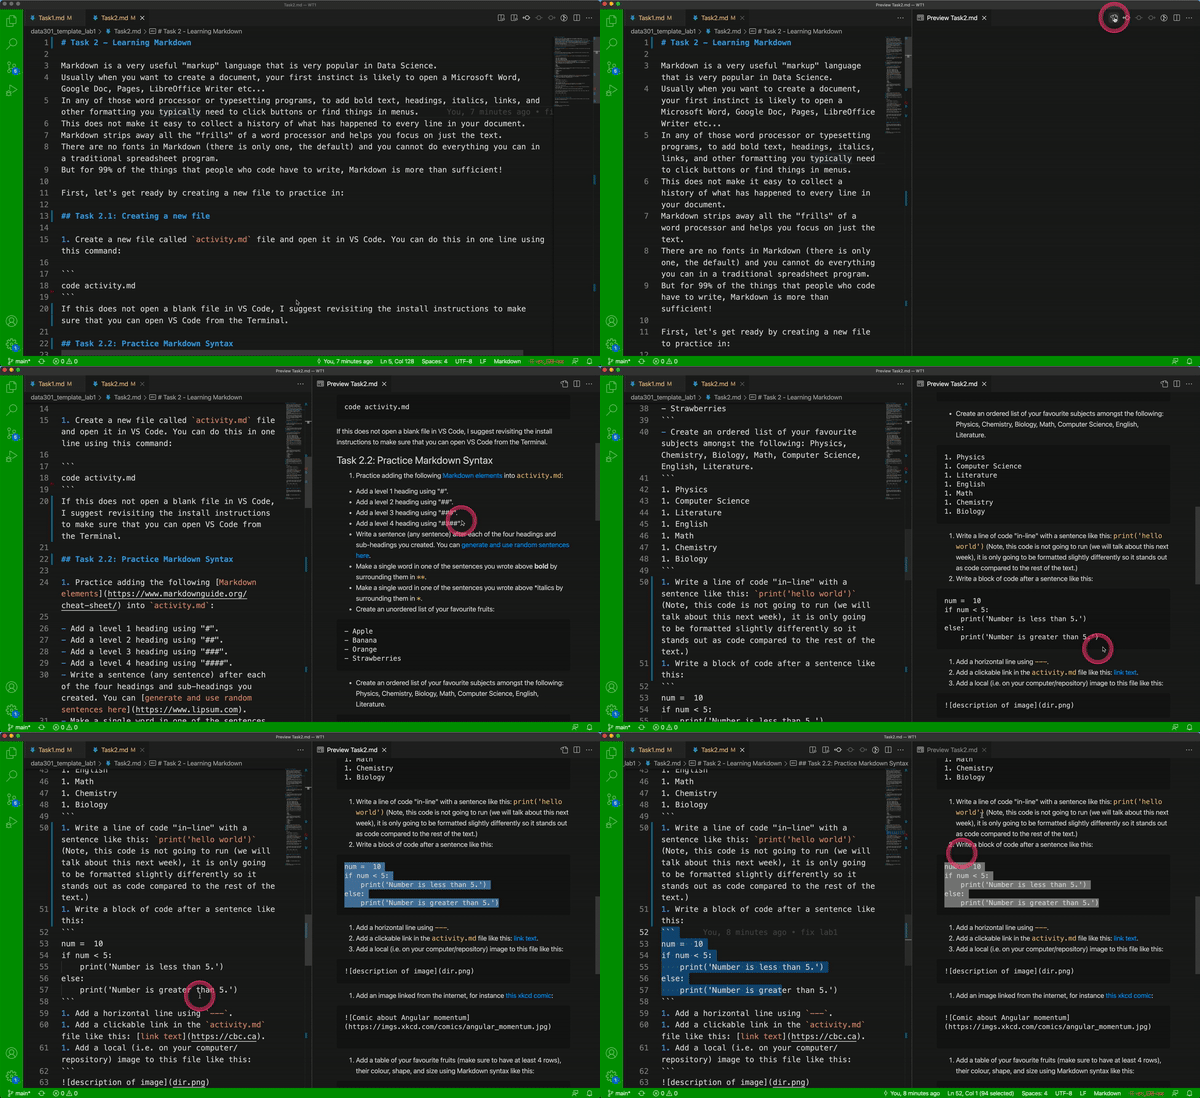
While you practice with Markdown syntax, it is useful to see a “Preview” of what it will look like. Here’s the effect of the preview extension you installed in VS Code:

Practice adding the following Markdown elements into
activity_task3.md:Write a random sentence which has an “in-line” piece of code. An example sentence would be like: “I want to insert
print('hello world')in my sentence.” (Note, this code is not going to run (we will talk about this next week), it is only going to be formatted slightly differently so it stands out as code compared to the rest of the text.)Write a block of code which spans multiple lines after a random sentence like this:
I want to insert a block of code next:
num =  10
if num < 5:
    print('Number is less than 5.')
else:
    print('Number is greater than 5.')
Add a horizontal line using
---.Add a clickable link in the
activity.mdfile like this: link text.Add a local (i.e. on your computer/repository) image to this file like this:

Make sure that you have the local image under the lab01 folder/repository on your computer. You can put it under image folder but you need to specify the path of this image inside
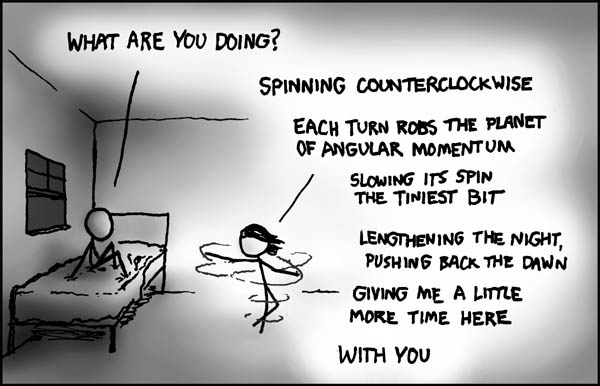
().Add an image linked from the internet, for instance this xkcd comic:

Add a table of your favourite fruits (make sure to have at least 4 rows excluding the header), their colour, shape, and size using Markdown syntax like this:
| Fruit | Colour | Shape | Size |
| ----- | ------ | ----- | ---- |
|       |        |       |      |
|       |        |       |      |
|       |        |       |      |
Add, commit, and push your changes to GitHub#
Open a Terminal and navigate to where you have cloned your lab (hint: you can use the cd command to change directories, and pwd command to print out where you are currently in your directory tree).
Add, commit, and then push your changes to GitHub.com using the following commands (we will talk about what exactly this means in class):
git add .
git commit -m "Finished Task 3 markdown syntax."
git push
Task 3.3: Submit your Lab on PrairieLearn#
See the README file on instructions, and a gif on how to submit your lab on PrairieLearn.
That’s it! Nice and easy, lots of new things learned… You’re all done Lab 1!
