Task 2 - Learning GIMP
Contents
Task 2 - Learning GIMP#
In this task, you will need to do some reading about image creation and editing using GIMP. You do not need to submit anything for this task, however you will need to use the tools outlined here to complete Task 3 and 4.
Source: This lab is based on the image lab for CPSC 111 at UBC Vancouver
Image Editing#
Image editing software allows you to create and draw images and manipulate digital photos. GIMP (GNU Image Manipulation Program) is open source software similar to Adobe Photoshop. You will use it to create your own original image and edit and enhance digital photos. The skills learned will transfer to other image editing software.
Skills you will learn:
Use freehand tools such as paintbrush, pencil, and ink drawing
Use selection tools and Gfig to create simple shapes
Crop and resize images
Use the “Color Balance” color tool
Create a unique illustration/picture
Edit and enhance a digital photograph
Install GIMP#
You may download and install GIMP on your own computer from GIMP.
Launch GIMP#
TASK: Open GIMP which you can find by searching for “GIMP” in the start menu search bar.
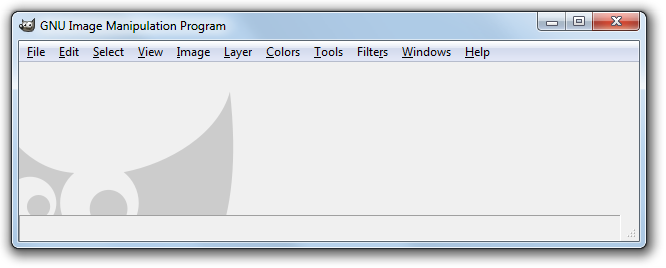
A window will open up containing a Toolbox menu that contains icons for drawing commands on the left and the image manipulation area in the center. You will note that the center area is empty.
Main Window#
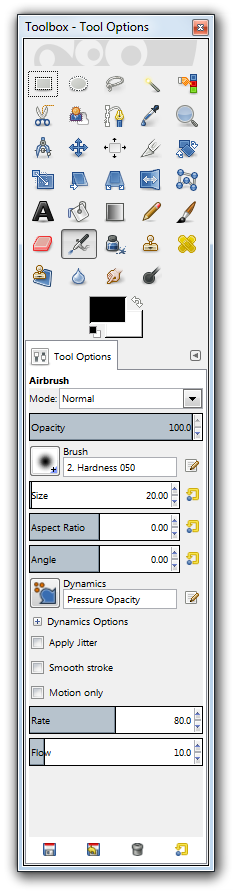
Toolbox Window#
GIMP Drawing Tutorial#
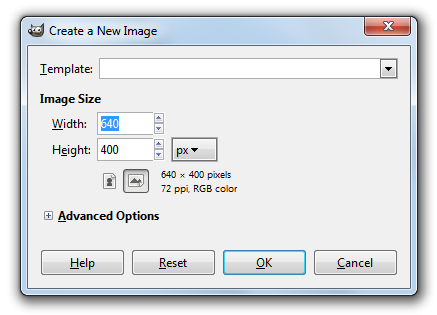
To start, under the File menu select New… and a dialog box will appear. Click OK to accept the default image size, although you may change this if you wish.
New Image Dialog#
Changing the Background Color#
Click on the Foreground & Background color
 on the Toolbox menu. Double click to open the color selection dialog and select a color.
Select Bucket Fill tool (
 ) from the menus to fill with a color or pattern. Choose the fill type and click anywhere on the canvas to fill the canvas with your background color.
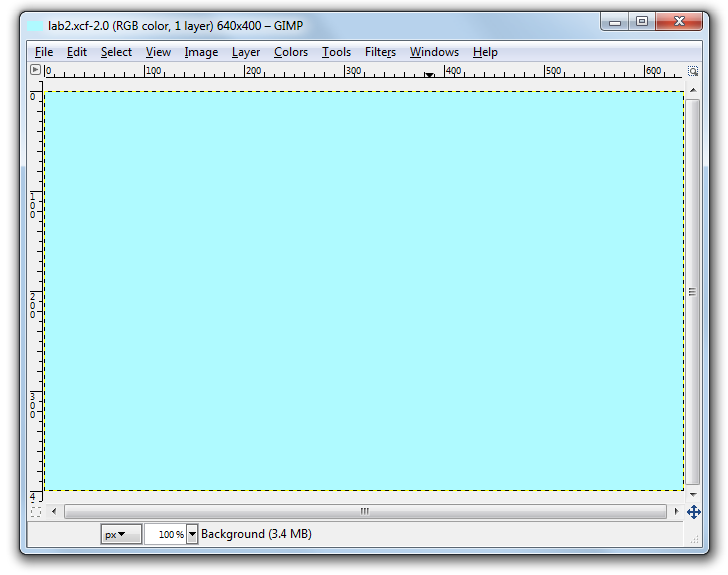
Set Background#
Freehand Drawing#
You can draw using a pencil (
 ), paintbrush (
 ), airbrush (
 ), or ink (
 ) available on the Toolbox menu. Each item has different options that you can select.
Click on the Foreground & Background color
to change your drawing color.Hold down the mouse button and draw with the brush in the image window.
Experiment with the different options. Remember you can undo any drawing using Ctrl+Z.
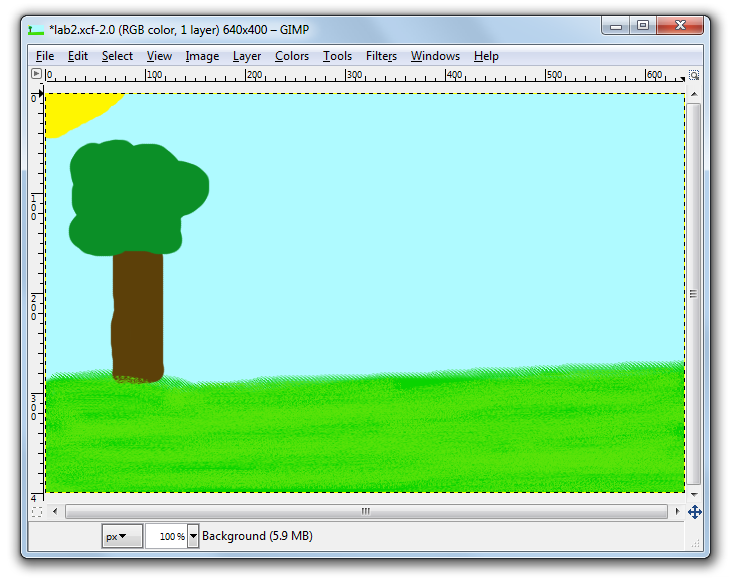
Shape Drawing#
To draw straight lines with any freehand tool, first click where you want your straight line to begin. Then hold down shift and as you move the cursor you’ll see a temporary path that shows where your straight line will appear if you click again.
To draw shapes like a rectangle or circle, use either the Rectangular Select Tool (
 ), Elliptical Select Tool (
 ), or Free Select Tool (
 )found on the upper left side of the main toolbar. Once you have placed a selection on your canvas, try going to Edit->Stroke Selection.
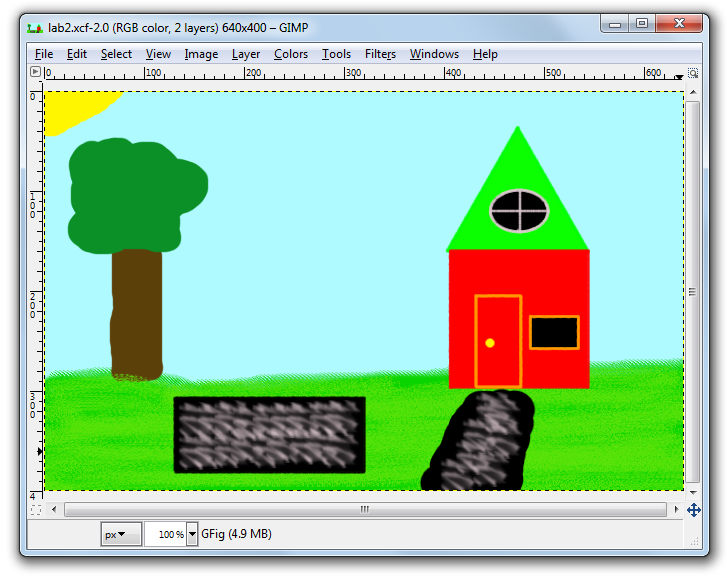
More complex shapes can be drawn with Filters -> Render –>Gfig.

Advanced Brush Options#
For drawing, you can choose different tool options like opacity, mode, type & size of brush, gradient, and length in the Toolbox menu.

Special Effects#
Special effects are under the Filter menu and include Blur -> Pixelize and Artistic->Cartoon. Use the selection tool to only apply an effect to a portion of your image.
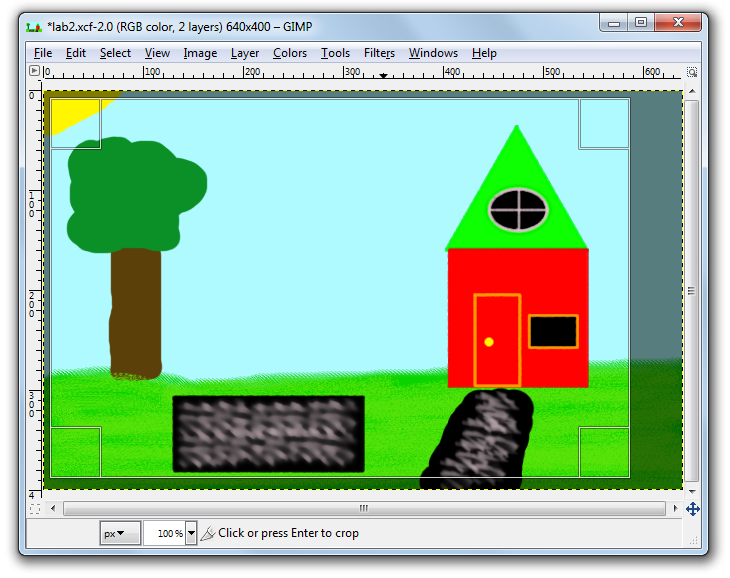
Cropping#
Cropping  removes unwanted areas in your image.
Click and drag a rectangle region on the image to select the portion of the picture you want to keep.
Everything outside of this region will be removed.
removes unwanted areas in your image.
Click and drag a rectangle region on the image to select the portion of the picture you want to keep.
Everything outside of this region will be removed.
Saving an Image#
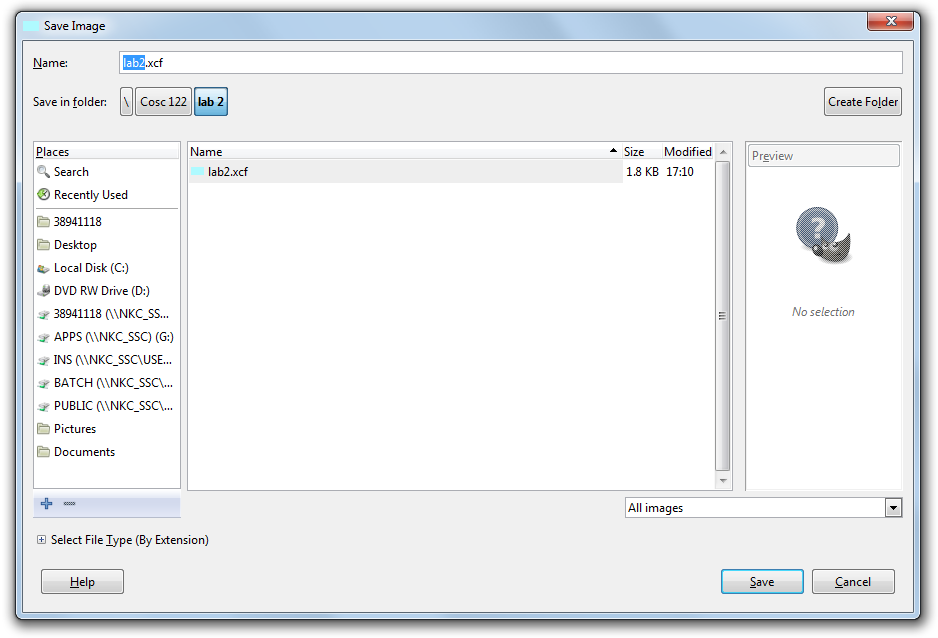
Save your image by selecting “File”, then “Save”. The GIMP native XCF file format allows you to reload your image later and continue. When you are done, you can also save the image as a png or jpeg. Make sure to add the XCF extension when you are saving as GIMP will not do so automatically.
Additional Resources#
There is a lot more that you can do with GIMP then we have covered in this lab. If you have time, explore the possibilities of GIMP beyond what we have done here.
Helpful links:
Specifications#
Remember that we are using a “Specifications Grading” system for the labs in this course. More details are available in the Unsyllabus
For this task, the specifications are:
Read over the all the items of this Task, there is nothing else you need to submit here. You will need these for the next tasks.
Remember that though each task has separate specifications, you will only get one combined grade for each lab (E,G,R, or I). You will get feedback for each of the tasks separately.