Milestone 3 - Address Feedback and Refine project
In this milestone you will continue working on your class project, process the data for your dashboard, and get the repo ready final submission in Milestone 4.
There is no GH Classroom link to accept for this milestone or milestone 4.
Due Date
The due date for this milestone is Friday November 27, 2020. I suggest you try to meet at least once during the next week to discuss this milestone.
Overall Expectations
You should be committing to git every time you work on this project.
On average, all team members should be contributing to the project equally!
git commit messages should be meaningful. These will be marked. It’s OK if one or two are less meaningful, but most should be.
Use GitHub issues to communicate and document major decisions
Your question, analysis and visualizations should make sense. It doesn’t have to be complicated.
You should use proper grammar and full sentences in your READMEs. Point form may occur, but should be less than 30% of your written documents.
You must use proper English, spelling, and grammar.
You should write concisely.
Task 1: Address project feedback (60%)
Your assigned project TA should have created an issue in your repository with some feedback for you to address on your milestone.
You should spend the majority of time this week to address the feedback you have received from your TA.
Task 2: Make your repository public (5%)
Here is how to make your repository public (within the Data 301 organization).
On GitHub, navigate to the main page of the repository.
Under your repository name, click Settings.

Under “Danger Zone”, to the right of to “Change repository visibility”, click Change visibility.

Select a visibility.

Task 3: Process your data for your Tableau Dashboard (20%)
You should prepare and process your data so that when you create your dashboard, you have to do minimal data wrangling or manipulation in Tableau. There are many different ways to deal with this, but I suggest you export a dataset that you can easily use in Tableau to plot whatever you need to in your dashboard.
You should put the exported .csv files in the data/processed directory.
Task 4: Create a release for your repository (15%)
Create a new release for your project called 0.1.0.
As you progress through your project, you can add more releases, once you’re happy with where you’re at, I suggest creating a new release at 1.0 (perhaps just before you’re submitting your final milestone?).
Creating a new release
Here are the instructions to create a release.
Briefly, here is how to create a release (from the docs):
On GitHub, navigate to the main page of the repository.
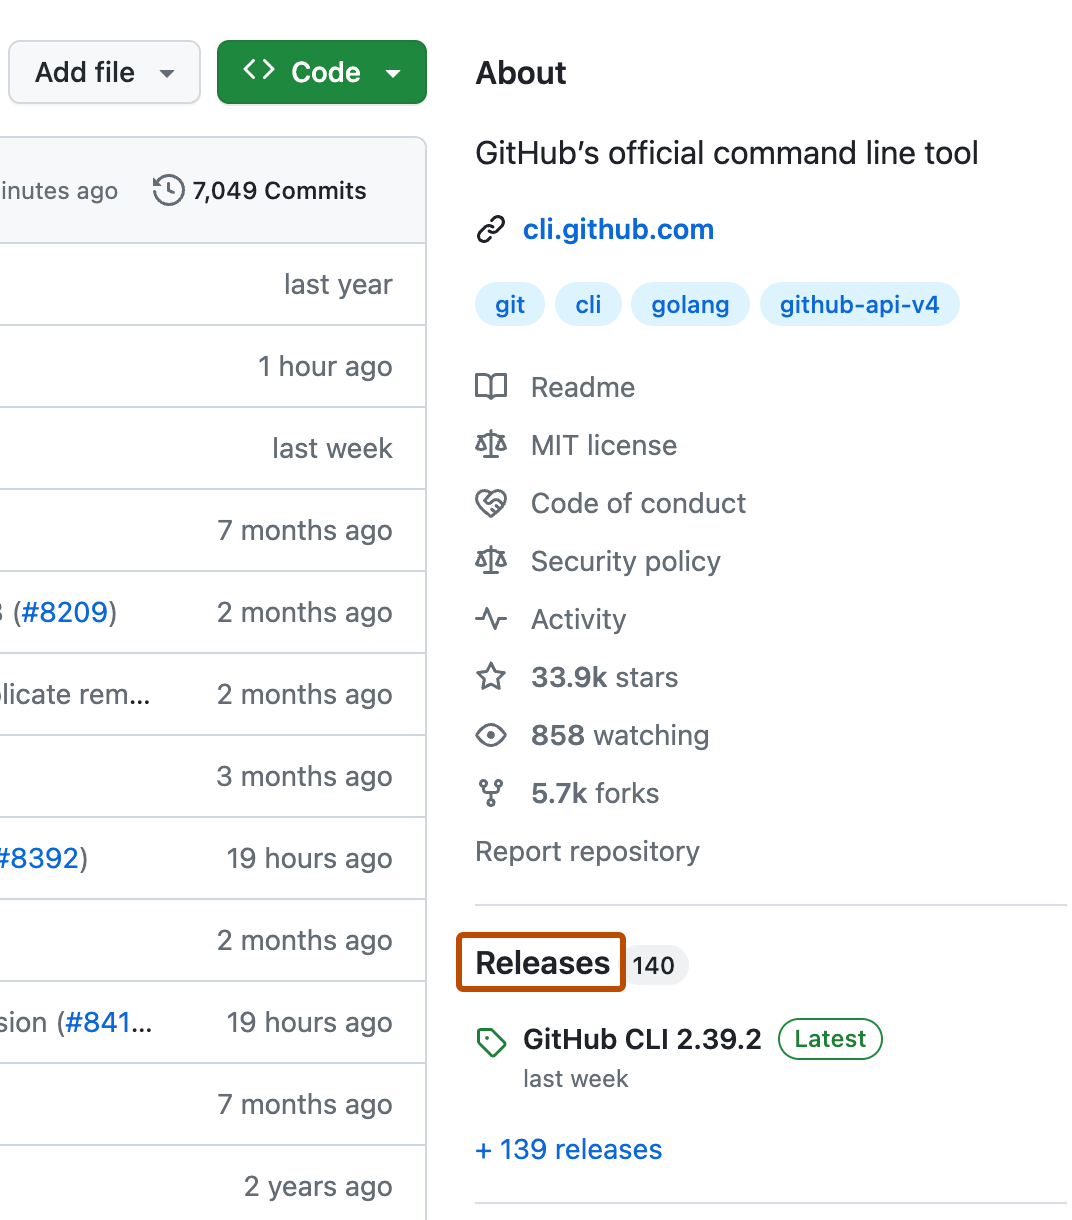
To the right of the list of files, click Releases or Latest release.
Click Draft a new release.

Type a version number for your release. Versions are based on Git tags.

Use the drop-down menu to select the branch that contains the project you want to release.

Type a title and description for your release.

Once you’re ready to publicize your release, click Publish release. To work on the release later, click Save draft.
Additional Information
When developers (like you!) are working on a software project that others will be using or viewing, they need a way to communicate with their users when new features are released and bugs are fixed. Typically, this is done by creating version and you’re likely most familiar with this with your phone or laptop operating system (OS). For instance, if you have an iPhone the latest version of your OS is 14.2.1 - what do the 14, 2 and 1 mean? There are conventions, and the one that I suggest you follow is: Semantic Versioning.
From semver.org, here is the summary:
Given a version number MAJOR.MINOR.PATCH, increment the:
MAJOR version when you make incompatible API changes,
MINOR version when you add functionality in a backwards compatible manner, and
PATCH version when you make backwards compatible bug fixes.
OPTIONAL Task 5: Give others feedback (0%)!
Many of your classmates are doing some very interesting projects with some cool datasets. Since this is a course introducing you to Data Analytics, I think it would be very helpful for you to look at their analyses and results, think critically about it, and perhaps provide some useful feedback.
I’ll try and facilitate this during our lecture this week, and also online on Piazza.
Working collaboratively in GitHub
As we progress through the course, you will be learning more and more about GitHub and how to work collaboratively on code. Since this is the first time many of you are using Git, I recommend that if you are working in a group, you avoid editing each others’ files until you are more familiar with git. Below are a few things you may find useful as you continue your git journey.
Git Branches
Git branches were introduced in Milestone 2.
Pull requests
Once you have created a branch and “completed” a feature, it’s time to merge the feature back to the main (or master) branch.
Of course, as you learned in the tutorial you can do this yourself, but in general it’s a good idea for another teammate to review your work before it is merged into master.
This is where Pull Requests come in:

To create pull requests (even students working solo can do this), you can follow Steps 4 and 5 from here, and then assign a reviewer (from your group) to look at your code.
Git Issues, Milestones, Labels, and Assignees
From GitHub’s documentation:
Issues are a great way to keep track of tasks, enhancements, and bugs for your projects. They’re kind of like email—except they can be shared and discussed with the rest of your team. Most software projects have a bug tracker of some kind. GitHub’s tracker is called Issues, and has its own section in every repository.

Labels are a great way to organize different types of issues. Issues can have as many labels as you want, and you can filter by one or many labels at once.

Milestones, are groups of issues that correspond to a project, feature, or time period. People use them in many different ways in software development.

Assignees are a great way to filter, categorize issues, and remember what you’re responsible to do. Each issue can have an assignee — one person that’s responsible for moving the issue forward. Assignees are selected the same way milestones are, through the grey bar at the top of the issue.
You can change or add a milestone, an assignee, and labels by clicking their corresponding gears in the sidebar on the right.
How to pull the most recent changes to your computer
If you edit your code on the GitHub web interface, or if another user commits to your repository, to update the repository with the most recent changes, you should always start a working session by running this command in your git repository (using either Terminal or GitBash):
git pull
This will make sure your local computer is updated with any changes. Commit and push your changes often while you work to stay in sync.