Lab 10: Create and publish your Tableau Dashboard
(Remember that Lab 8 and Lab 9 are optional labs about SQL.)
Task 1: Create your Tableau Dashboard (90%)
In this lab you will be creating a Tableau Dashboard to showcase your DATA 301 Project Dashboard.
The requirements for your Tableau dashboard are:
Your dashboard should tell a story.
You must have at least two sheets, and the option to “Show sheets as Tabs” must be checked:

Details of the Dashboard sheets/tabs
The first sheet should describe your dataset, and show us the results of your EDA.
The second sheet should answer a research question with some data visualizations.
You may have additional sheets if you like
You are encouraged, though not required, to create your plots in Tableau
You must have at least 2 filters (of any type: dropdown, checkbox, etc…) for your plots
You must have at least 2 linked plots (if you click on one plot, another plot should update)
Task 2: Publish your Tableau Dashboard (10%)
Instruction to Publish a workbook are reproduced here:
Warning
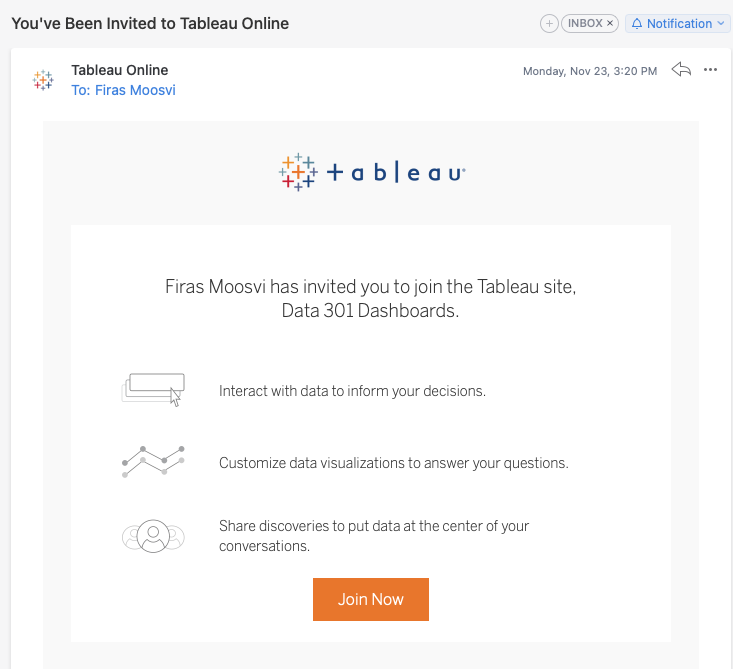
In order to proceed with publishing your Tableau to our course site, you MUST first complete this survey. I will then have to invite you to the site (this will take at least a day). After you are invited, you will get an email that looks like this:
Once you have joined, you can then follow the steps to publish your workbook.
In Tableau Desktop, select Server > Sign In. Under “Quick Connect”, click Tableau Online - you’ll be asked to authenticate with your Tableau account.
In Tableau Desktop, open the workbook you want to publish.
Select Server > Publish Workbook.
Select “A - Solo Projects” or “B - Group Projects”, depending on your project type.
If the Publish Workbook option does not appear on the Server menu, make sure a worksheet or dashboard tab is active (not the Data Source tab).
In the Publish Workbook dialog box, select the project, enter a name for the workbook, and add search tags.
Tags help users find related workbooks when they browse the server. Separate tags using a comma or space. To add a tag that contains a space, put the tag in quotation marks.

For Permissions, accept the default project settings.
Generally, a site administrator manages permissions on the server. If you think your workbook is an exception, work with your administrator to determine the best course of action, and see Set Permissions as You Publish a Data Source or Workbook.
For Data Sources, select Edit and make sure your data is embedded in the workbook.
If you’re publishing an extract and want to set up a refresh schedule, you must select Embed password or Allow refresh access.
If your workbook connects to a Tableau data source, we recommend embedding the password. If you instead choose to prompt users, they’ll need additional permissions on the data source.
Configure the Variable publishing options.
By default, Tableau Desktop publishes all sheets in a multiple-sheet workbook. In the Sheets section of the Publish Workbook dialog box, you can specify which sheets to include. Hiding sheets is useful when you want to publish a dashboard or story without showing the worksheets that were used to create it.
Click Publish. We will check to make sure your project number and dashboard is on the online site.
Tips
Don’t forget to add text and narrative structure to your dashboard to tell a story about your project.
You can re-use content from earlier in your project describing your data, and EDA.
If you’re stuck, come to office hours or labs!