Workshop 4: Saturday June 22, 2024#
Below are the slides from today’s class embedded and linked here.
Pre-Workshop Tasks#
Installing MongoDB#
Install MongoDB Community Edition
macOS: Use these instructions to install using
homebrew.Once done, start the services using
brew services start mongodb/brew/mongodb-community
Windows: Use these instructions to install using an MSI (recommended).
Install the new Mongo Shell (Mongosh)
Windows: Extract the folder from the zip file and place it wherever you’d like
macOS: Open a new Terminal, and run the command:
brew install mongosh
Configuring mongo shell - Windows#
Add path to MongoDB Shell executable bin folder (something like
C:\mongosh-1.10.1-win32-x64\binif you placed the folder in the C drive) as a PATH system environment variable (For help setting the PATH variable: Google it, or read this)Close any open command prompt windows (environment variables will not be reloaded while there are open command prompt windows)
Start command prompt window and type
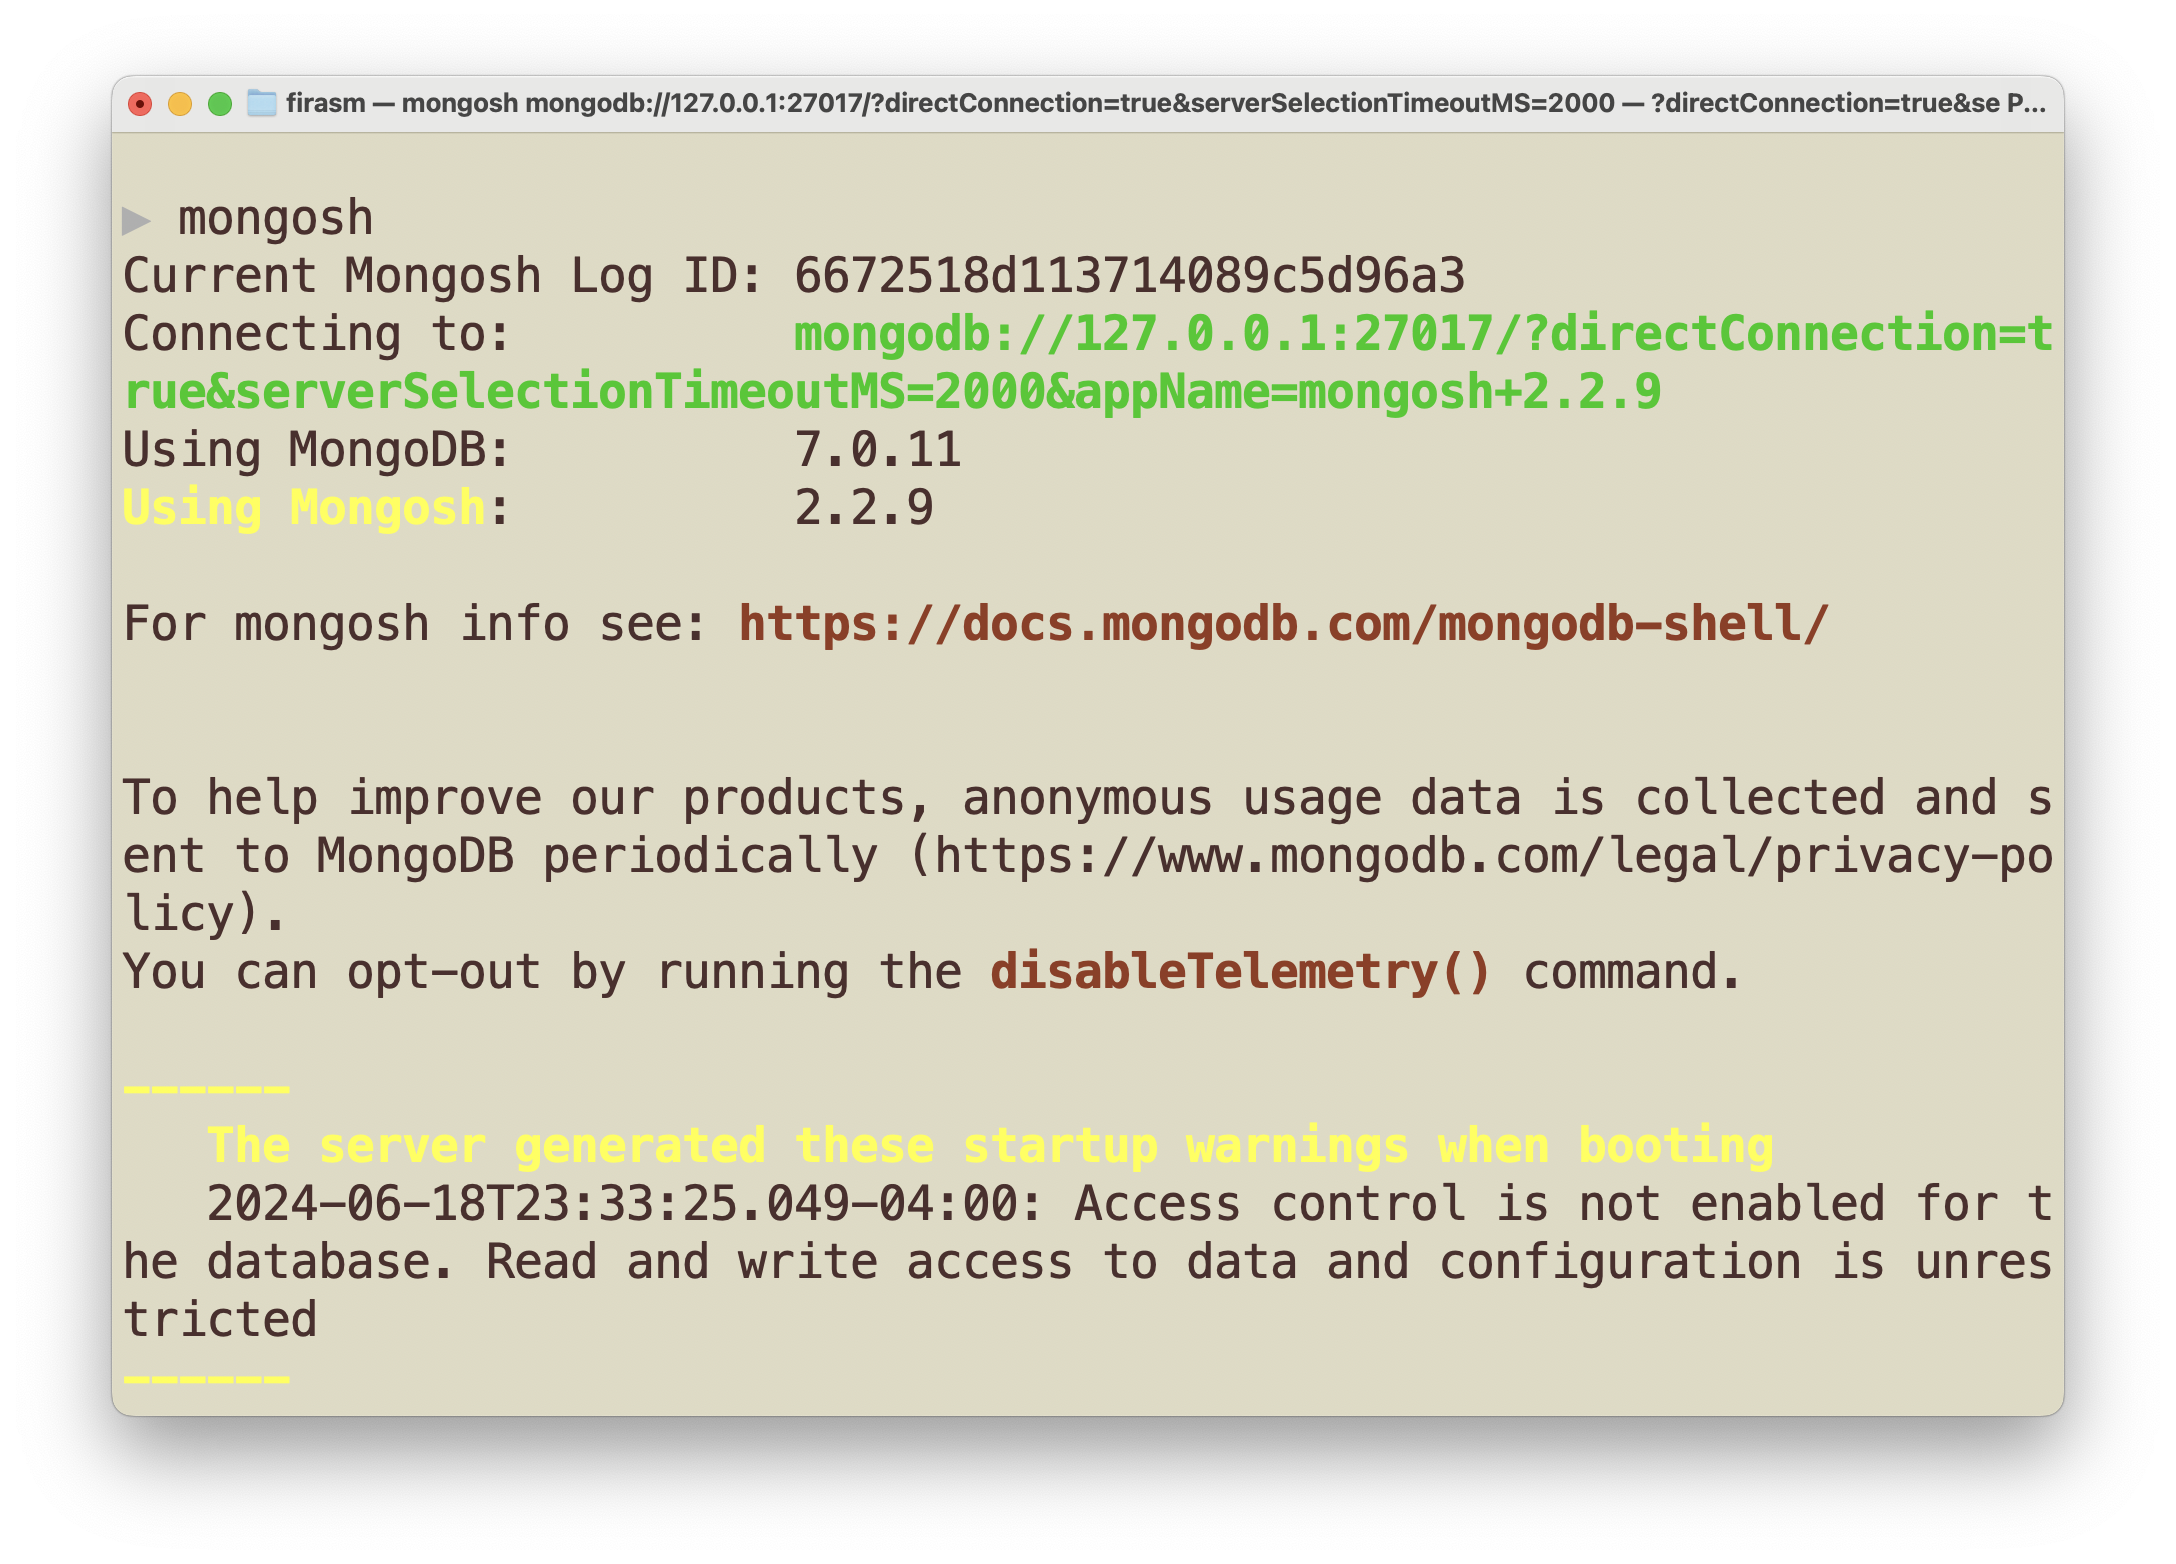
mongosh. If you see:Connecting to:
Using MongoDB: 7.0.11
Using Mongosh: 2.2.9 (the picture is old … so just imagine new versions where the old ones are 😀)

Configuring mongo shell - macOS#
Configuring mongosh on macOS is not necessary as long as you used homebrew to do the installation as specified above.
In a Terminal window, run the command: brew install mongosh.
After installing it, run mongosh to start, and you should see an image like this if things are working correctly:
Create an Atlas Sandbox Cluster#
Create an Atlas Sandbox Cluster
Register for an account with Atlas (https://www.mongodb.com/try)
Create an account
Fill out the quick survey
When it takes you to a page to create a cluster:
Cloud Provider & Region: AWS and N. Virginia (us-east-1)
Cluster Tier: Shared and M0 Sandbox
Additional Settings: No to everything
Cluster Name: Sandbox
Click “Create Cluster” and then wait for cluster to be set up - will take a couple of minutes
On left side menu under Security click “Database Access”
“Add New Database User”
Authentication Method: Password
Password Authentication
m001-studentm001-mongodb-basics
Database User Privileges: Built-in user -> Atlas admin
“Add user”
On left side menu unset Security click “Network Access”
“Add IP Address”
“Allow Access from Anywhere”
“Confirm”
Go Deployments on left side, and select Database from left side menu
Select “Connect” for your Sandbox cluster
Select “Shell”
Don’t do Steps 1) and 2) in prompt. Just copy connection command under Step 3).
Paste copied connection command into command prompt/terminal. Also paste the connection command in a place/document readily available. You will be using this command in the workshop
When prompted for password enter
m001-mongodb-basics
If successfully connected, after some connection log lines should see:
Atlas atlas-hxpgby-shard-0 [primary] test>